Greenhouse Fixing Advice
Greenhouse Base
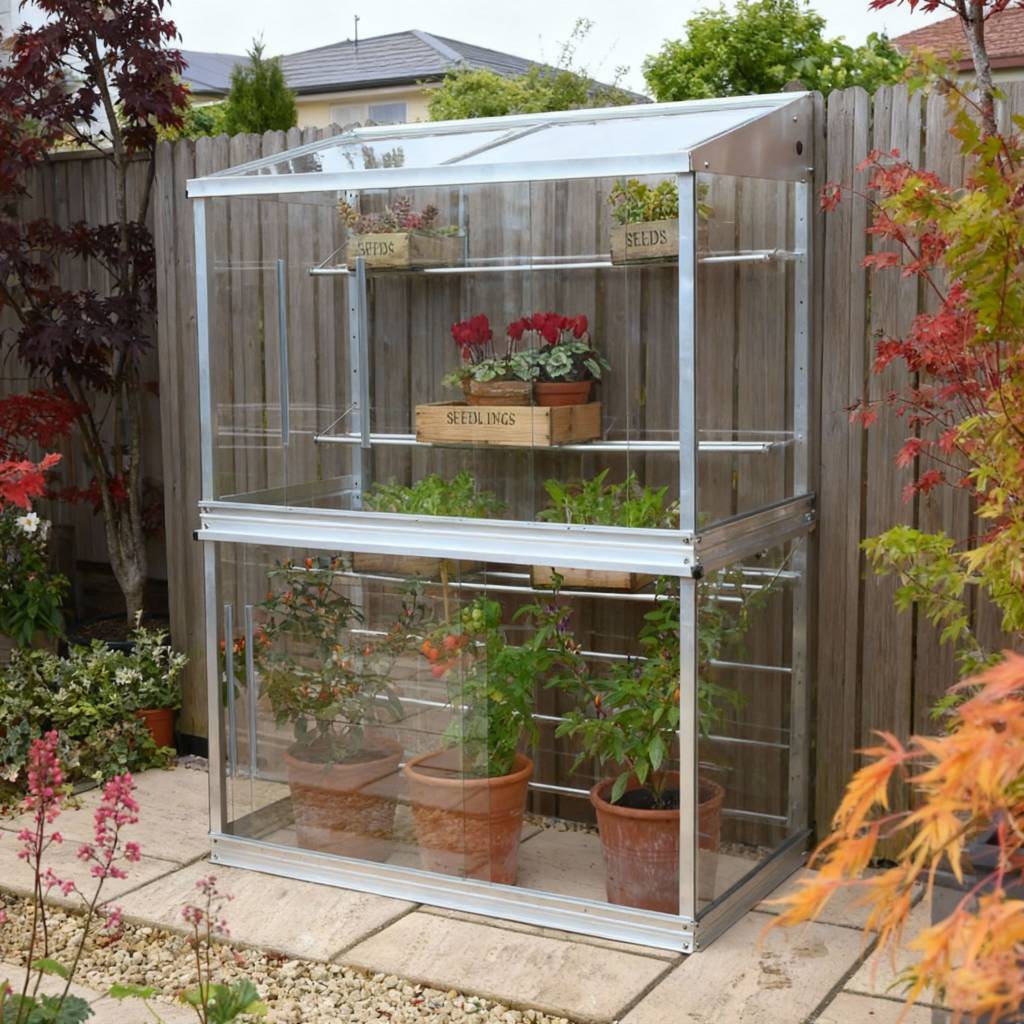
The Access Mini greenhouses do not need a special foundation, but taller models do need fixing – although they are heavy, if they are not anchored, then they could blow over in high winds.
The base itself should be firm and level; paving slabs, concrete or bock paving are ideal. Gravel is fine for freestanding models as long as it is well compacted; taller models will need some sort of fixing. Lower freestanding models and cold frames can be placed on soil on the vegetable patch.
Fixing Lean to Models

When fixing to a wall or fence it is important that the base is firm and level. If the ground could compact down, then the mini greenhouse would be left hanging in the air! If the area is gravelled, then consider concreting a 300mm x 300mm paving slab at the position of each front vertical leg.
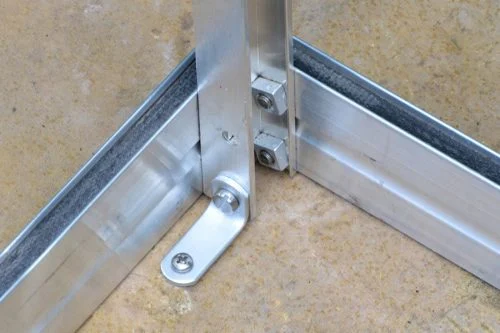
Classic Lean to models come with stainless steel fixings to allow then to be fitted to a wall. The fitting has a combined rawlplug and stainless steel pin, so the wall is simply drilled and the fixing is then tapped in and tightened with a screwdriver.
Classic Lean to models also have fixings to anchor the front of the framework down to slabs.
Value Lean to models do not come with fixings, but 2″ wood screws are recommended to fit back to the wall – there are designated fixing points at the back of the unit.
Fence Fixing
If the mini greenhouse is to be fitted to a sturdy fence, then use stainless steel nuts and bolts to fasten to the fence – you can use the same holes in the greenhouse framework to fit the bolts. On the other side of the fence you may need wide washers (sometimes called mudflap washers) to spread the load.
If the fence is draughty, there are a couple of options. You could fit a glass back to the greenhouse – most models are available with an optional glass back, or you could fit a sheet of Dibond at the back, there are online stores that will cut the sheet to size and deliver it to you.
Dibond is a composite aluminium material that will not rot but is easy to drill. The Dibond is available in a variety of colours and you can even have them overprinted with an image to blend in – at exhibitions we use Dibond with a brick wall pattern on. You can also have a mirror finish, which will maximise the light levels in the greenhouse.
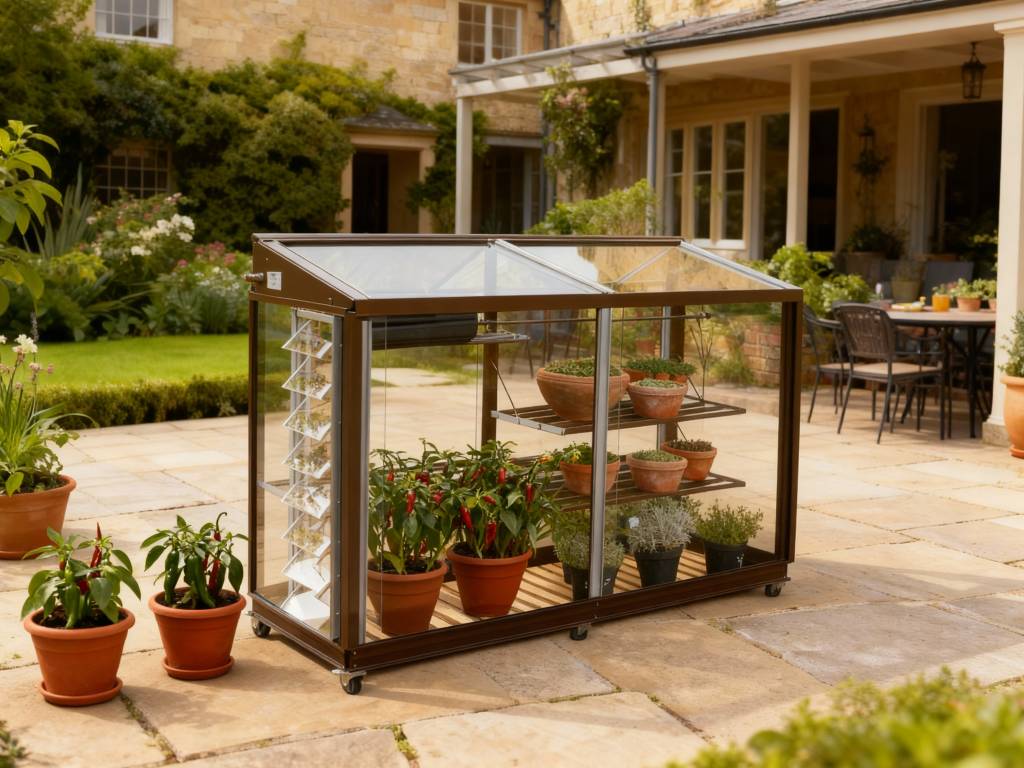
Fixing Freestanding models
Lower freestanding models do not need to be fixed down unless the site is very exposed but taller models – over 1.2m (4ft) need to be fixed down to prevent them moving in the wind. Lower models that are fitted on raised bases also need to be fixed down as strong winds from one side can move them off the base – unless the base is an Access raised bed, as these have a neat design to prevent the frame coming off the base.
If the freestanding model does need to be fixed, then it needs to be bolted to something firm like concrete or paving slabs. Taller free standing models come with anchorage brackets to allow the framework to be bolted down. If the area is gravel then 300mm x300mm slabs can be concreted in at the 4 corners of the greenhouse (plus centre points on longer models) and the aluminium framework bolted down.
Very windy sites
If the site is very windy, such as a coastal or moorland location, then as well as bolting the frame down, the bolts can be fitted using a thread lock compound such as Loctite. This will prevent the bolts from ever working loose from the constant vibration of the wind on the framework.
Preparing for storms
If strong winds are forecast then you should make sure the frame is closed up to prevent the wind from getting inside. Bolts should also be checked for tightness periodically.
What to do if you cannot fix the greenhouse
We always advise that the greenhouse should be fixed to the wall or the ground. However, what do you do if you cannot fix the greenhouse down?
First of all think very carefully about how windy it is, our greenhouses are much sturdier and heavier than a cheap plastic greenhouse, but in windy conditions we are at the mercy of the forces of the wind – in strong winds the wind will swirl and eddy and create faster wind speeds.
If you do make the decision not to fix the unit down, then here are some tips to minimise the risk of the greenhouse moving or blowing over.
Choose a sheltered spot
Obviously the more sheltered the spot, the less likely you will have problems in windy conditions. A spot that is sheltered by the house or walls will be better than an exposed area of the garden.
Choose your model
Ideally you want to go lower and wider with the mini greenhouse as this will give the greatest stability in a storm. We do several mobile units that have wheels and a false floor. The floor ensures that everything that is placed in the bottom of the greenhouse adds weight low down to the structure – without a base any pots on the floor do not add to the weight of the unit.
If you are never going to move the unit, then we can supply a false floor on its own, without the wheels.
Use thread lock
Fixing the mini greenhouse to the wall or fence reduces any vibration in the framework. A unit that hasn’t been fixed is more likely to have the bolts work loose in the wind, so it is important to use the Allen key to make sure all of the bolts have been fully tightened. If necessary, thread lock can be used on the bolts – this will prevent them from ever working loose.
Cold Frames and Raised Bases
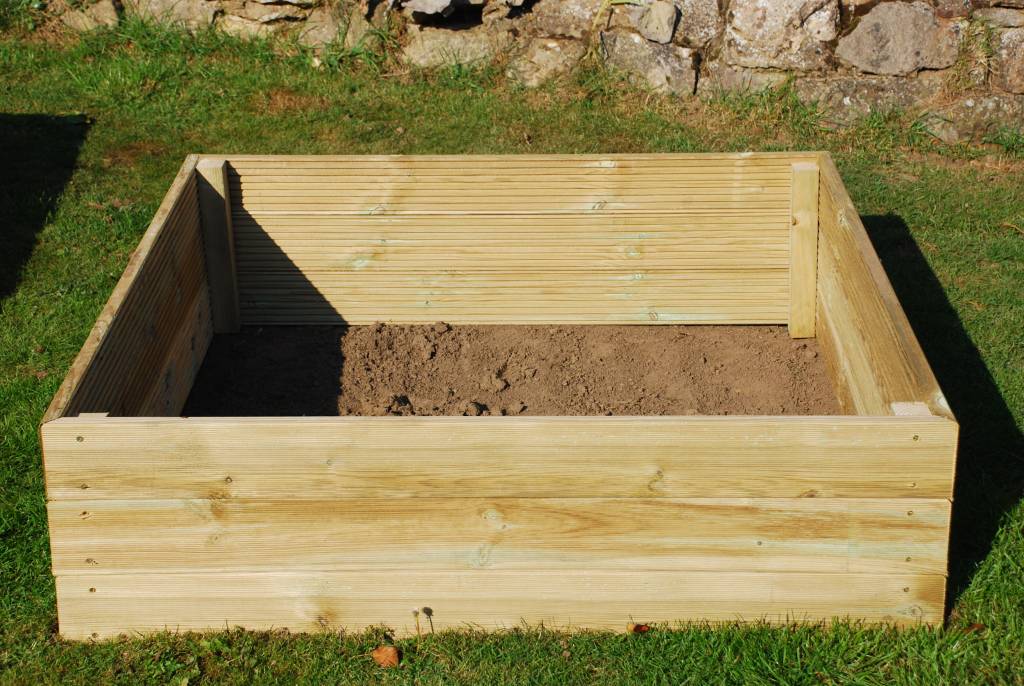
Cold Frames are much wider and lower than the mini greenhouses, so can safely be placed on the ground without any fixing. If an Access raised bed is used, the cold frame will drop onto this with no fixing as the raised bed support posts have a recess for the framework to drop into to prevent the frame coming off the raised bed.
If the cold frame is being placed on a homemade raised base, such as one constructed from railway sleepers, then fixings need to be used – this is to prevent the possibility of the frame sliding off the top of the base in strong winds.