Using Your Mini Greenhouse
Once you have purchased your mini greenhouse, this section will help you get the most out of your purchase. Here we give you tips on care and maintenance of the greenhouse as well as tips on topics such as ventilation and watering. We also have a Growing Guide focused on what to grow inside the greenhouse.
Operating Tips
Ventilation
One of the unique features of the Access range is the superb ventilation. Traditional greenhouses are hard to ventilate with only small openings for air flow. As front and roof panels slide on an Access Mini Greenhouse, the ventilation is very controllable.
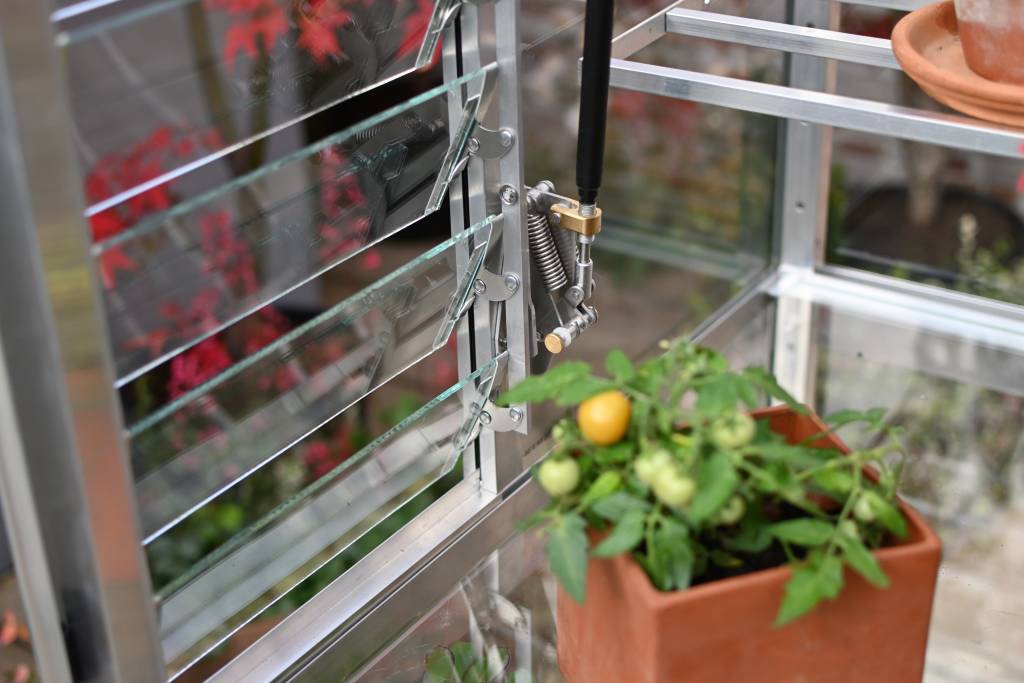
In addition to manual ventilation, we also offer the option of an automatic louvre vent which will open and close in its own.
Early in the season
As the glass traps the heat, even in early February the greenhouse will reach mid 20’s Celsius (70’s Fahrenheit) if the sun is on it. Open the front sheets about 2cm (1 inch) at each end. This will allow the air to move through the greenhouse and prevent damp and disease problems. Close the frame up about 4 o’clock to keep some warmth inside the greenhouse for the evening time.
Late Spring
As the days get longer and the warmth of the sun increases, open the front sheets about 10cm (4 inches) at each end. On taller models the top right and bottom left panel can be slid open for cross ventilation. Remember to close the Mini greenhouse up again in the evening before it gets too late, to preserve some warmth into the evening time
As Spring moves into early Summer, open all of the front panels to get good airflow through the greenhouse. Depending on where you are in the country, you will still need to close the greenhouse up each night until late May or early June.
Summertime
In Summer, in addition to opening the front panels, the roof sheets can also be slid open to allow air to convect through the roof. As the warm air escapes out of the roof, cooler air will be drawn in at the bottom. Once the danger of frost has passed, the greenhouse can be left open all of the time – by mid Summer the greenhouse would never normally be fully closed up.
Autumn
Ventilation in Autumn is similar to springtime with the structure being closed in the evening to keep warmth inside. If you have Chillies or Tomatoes, keep the ventilation to a minimum to keep the temperatures up and encourage the crops to ripen in the last of the sun’s heat.
Shading
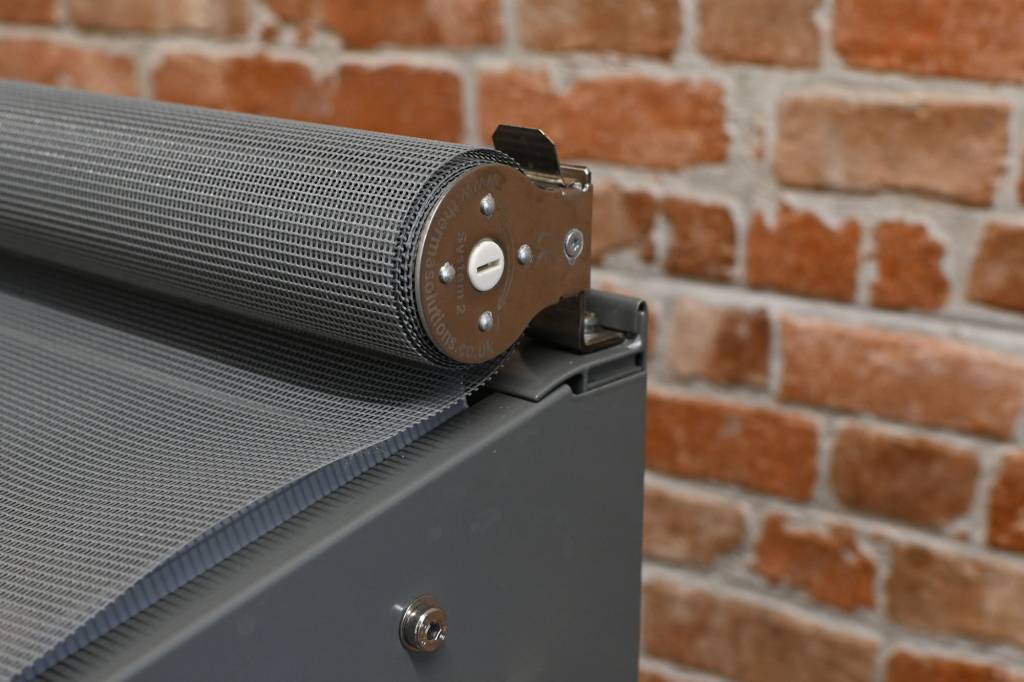
Shading is not so important with an Access mini greenhouse as the superb ventilation allows temperatures to be effectively managed. However, if the greenhouse is in the full sun all day, then a shade is of benefit. It is also useful to have a shade if you wish to grow more delicate plants later in the season – plants such as salad crops will struggle in high temperatures in a greenhouse, even if they are well watered.
Watering
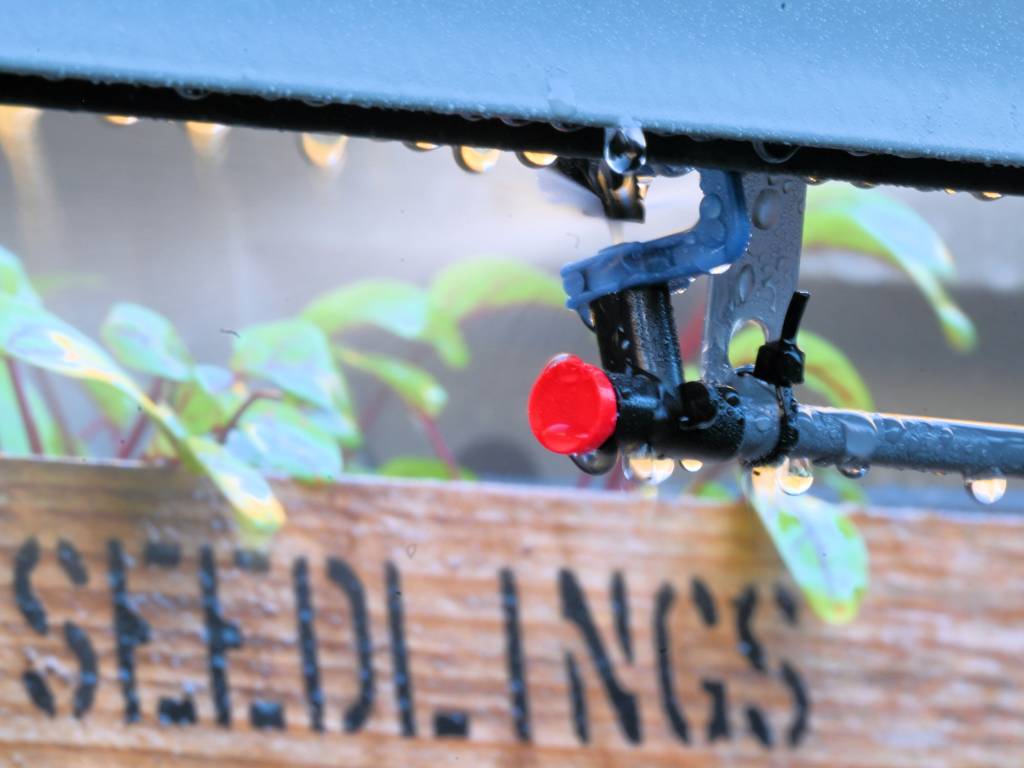
Most of the Classic models include a mist watering system as standard. On the Value range, this is an optional extra. The mist watering uses fine mist nozzles to water the inside of the greenhouse and is gentle enough to be used with tiny seedlings.
Connection to the water supply is easy with a brass hose snap connector on the end of the greenhouse. A tap timer can be added to automate the watering.
Early in the season
Early on in the year, hand watering is generally best as you want to minimise the amount of water inside the greenhouse and you do not want to over-water the plants. Keep an eye on the plants and only water when the compost is dry.
One of the unique benefits of the Access Mini greenhouses is the ability to have a built-in watering system. The connection at the end of the greenhouse allows a hose to be connected and the whole greenhouse watered. During holiday times a timer can be added to the tap to automate the watering – this also allows early morning watering in mid-summer when the temperatures are lower.
From mid-February, if the mini greenhouse is in a sunny spot, the mist watering can be used for a short burst of water – only a water for a minute at a time to get an idea of how much water you need. Try and water when the sun is on the greenhouse as the ambient temperature will have risen – the droplets from the mist nozzle are so fine they will have reached the ambient temperature by the time they reach the plants. The small droplet size also prevents any issues of the leaves scorching. Ideally you want to water while there is still plenty of time for the excess water to evaporate.
Germinating seedlings is a great way of using your mini greenhouse and also way of saving money by growing your own. Once the seeds have been planted, put the inside the greenhouse and give a short 30 second burst of water. One of the great benefits of the mist watering is when germinating young seedlings. The droplets are fine enough not to damage even tiny plants and the mist spray helps raise the humidity, reducing stresses on the tender young plants.
Springtime watering
In the springtime generally you only need to water a few times a week. As the days lengthen, increase the frequency of watering. At this time you year it is still best to water towards the middle of the day and this prevents the damp being a problem.
Summertime watering
As we move towards summer, move the watering to the cooler parts of the day. This will give the compost time to absorb the moisture and losses due to evaporation will be minimised. In very warm weather you may need to water morning and evening, especially if the pots are small as they will dry out quickly.
The mist can also be used during the daytime in short bursts to raise the humidity inside the greenhouse. This will also help keep the temperatures down using the benefit of evaporative cooling.
Cleaning and Maintenance
Access Mini greenhouses are designed to last many, many years. A bit of care and maintenance will help ensure the greenhouse works as well as they day it was installed.
Cleaning
Once or twice a year it is a good idea to take all of the glass out and give the greenhouse a ‘spring clean’. This will ensure the light levels inside the greenhouse are maintained and also disease problems are minimised. Choose a nice day to undertake the cleaning.
First step is to remove the glass – on Classic models you will need to remove the corner trims to do this. Then carefully remove the glass from the frame and place in on some timber battens on the floor – toughened glass is at its weakest at the edges, so never place the glass directly on concrete or slabs.
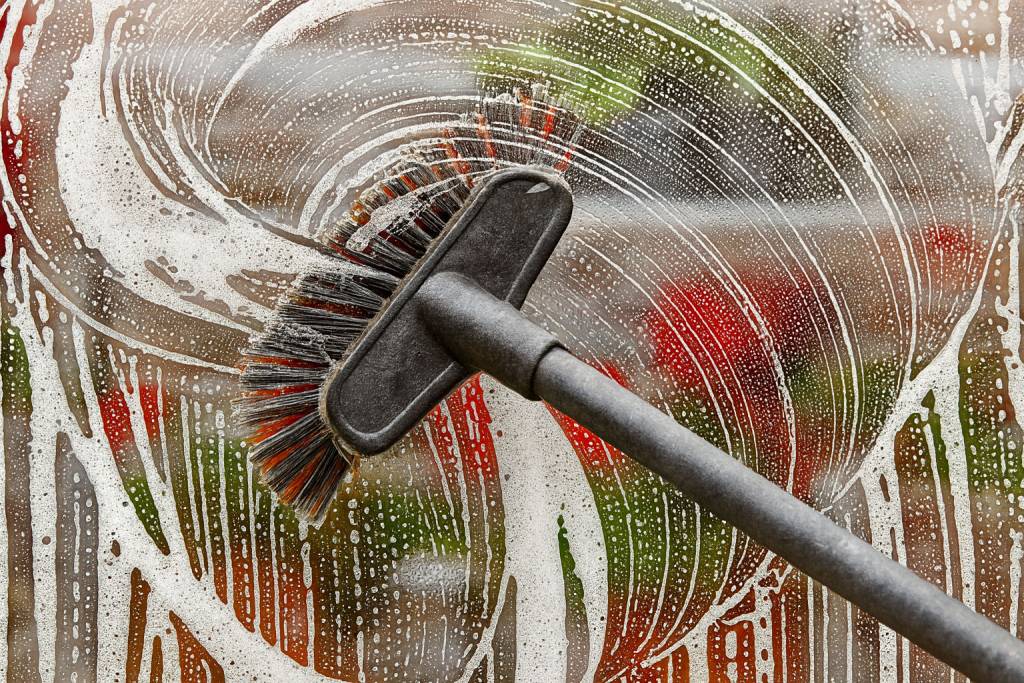
Once all of the glass is out, you can wash the frame with hot soapy water – a car wash brush makes cleaning easy. Once the frame is clean, wipe out the glass channels so there is no dirt or grit in the channel – you can rub some candle wax into the channel or spray a silicone based lubricant onto the channel liner to make the glass slide smoothly. We sell spare channel liner if needed.
Once the framework is clean then use hot soapy water and a car wash brush to clean the glass. Rinse off and then wipe dry before returning the glass to the frame. If necessary order new handles and adhesive pads for the glass. Refit any corner trims and rubber wedges.
Slugs and Snails
Slugs and snails are always a challenge in the garden and although a greenhouse can help, keeping slugs down is always an ongoing battle. Inside the greenhouse the slugs will try and hide in crevices such as the inside of the vertical legs, so keep an eye on these. They also like to hide under pots, so lift the pots occasionally.
Adding sharp grit to the bottom of the frame deters the slugs and snails although you need to make sure it is kept out of the glazing channels. You can also put slug traps in the back of the greenhouse. If you have a raised bed then you can put copper tape around the raised base to deter them from climbing up the inside.